

Choosing the best at-home laser cutter goes beyond simply considering horsepower. For makers working from garages, guest rooms, or small studios, balancing power, safety, ease of use, and budget is essential. Whether you’re engraving gift ideas, cutting acrylic for signage, or prototyping parts for a small project, the right cutter can unlock projects that seemed out of reach. This guide will walk you through key goals, features, and workflows that match today’s compact machines, so you can set up a system that fits your creative space without overspending or sacrificing reliability.
Define Your Home Laser Cutter Goals
Start by aligning your goals with realistic machine expectations. Key goals include:
- Hobbyists: If you’re carving wooden ornaments or acrylic awards, you’ll need a cutter with precise optics and adequate wattage to handle detailed engraving and clean edge burns.
- Leather and Fabric Crafters: Opt for machines with variable power control and a decent-sized cutting bed to accommodate larger pieces.
- Prototyping Small Parts: If you occasionally need to prototype parts, look for a machine with focused Z-axis adjustment and a flat, stable bed for repeatable results.
- Space Considerations: Measure the footprint of the machine and consider space for ventilation tubing, especially if you’re working in tight corners or small rooms.
- Safety: Choose machines with interlocked lids and reliable exhaust systems to keep fumes at bay.
By setting these goals first, you can make informed decisions about the rest of your buying criteria based on how you actually work.
Key Features to Evaluate Before Buying
Before making your purchase, keep these key features in mind:
- Wattage and Material Compatibility:
- For thicker wood, opt for 30-40W diode systems.
- CO₂ units at 40-60W expand capabilities to thicker acrylic and denser stock.
- Bed Size:
- Look for modular plates or X/Y travel that matches your typical project size, whether you’re doing long cuts or multiple small pieces.
- Focus Mechanics:
- Adjustable rails or auto-focus sensors save time and ensure clean, crisp cut edges.
- Software:
- Drag-and-drop programs or plugins for LightBurn and LaserGRBL simplify importing SVGs and DXFs.
- Build Quality:
- A rigid frame, accessible mirrors, and quick-release belts contribute to reliability.
- Easy-to-clean vent ports ensure fewer maintenance issues.
- Maintenance Considerations:
- Choose a machine designed with maintenance in mind for fewer surprises during daily use.
- Choose a machine designed with maintenance in mind for fewer surprises during daily use.
Compare Popular At-Home Laser Cutter Types
Different types of laser cutters suit different needs. Here’s a quick comparison:
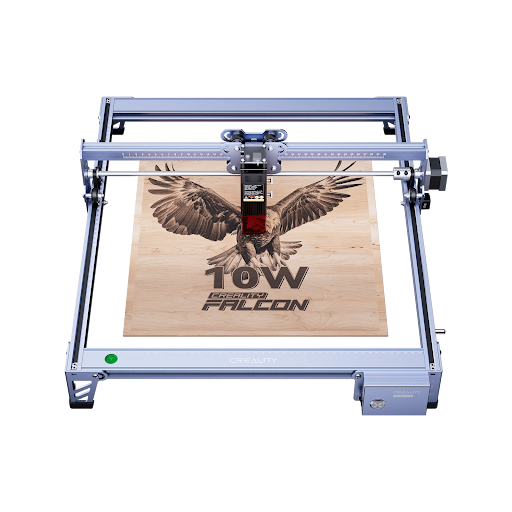
- Diode Lasers:
- Compact workhorses, ideal for thin woods, acrylic, and leather.
- Perfect for engraving wooden signs or jewelry.
- Slower and quieter but great for hobbyists.
- Fiber Lasers:
- Best for reflective metals but require more power and ventilation.
- Less common for casual makers due to higher costs and maintenance needs.
- CO₂ Lasers:
- Ideal for cutting thicker acrylic and plywood.
- Moderate upkeep with faster processing and larger bed sizes compared to diode lasers.
For beginners, diode and entry-level CO₂ models are typically easier to manage and come with lower running costs. Consider your ventilation setup, as diode lasers tend to run cooler, while CO₂ units usually require dedicated exhaust or filtration systems.
Budget Planning: What You Get in Different Price Ranges
Laser cutters come in a wide range of prices, each offering different features:
- $400-$800 Range:
- Smaller diode models, ideal for engraving wood coasters or cutting thin leather strips.
- Expect limited bed sizes and slower speeds.
- $900-$1,500 Range:
- Higher-wattage diodes or entry-level CO₂ tubes.
- Better software bundles, safer enclosures, and pass-through capabilities for larger stock.
- $1,500+ Range:
- Premium home cutters with robust frames, automatic focusing, and superior customer support.
- Useful for small part-time craft businesses.
Keep in mind that recurring costs like replacement lenses, filter cartridges, and materials are a part of the equation. Evaluate where spending more provides real value in terms of stability, warranty, and ease of use, versus paying for features you might not need.
Setup, Safety, and Routine Maintenance
Set up your laser cutter in a space that allows for proper air circulation. Here’s what to consider:
- Workspace:
- Keep the area level, uncluttered, and away from loose textiles.
- Ensure proper ventilation, either near a window or with a ventilation hose.
- Maintenance:
- Clean mirrors, lenses, and belts regularly.
- Check air assist lines for clogs.
- Replace filters and external air pumps per the manufacturer’s schedule.
- Fume Management:
- Avoid PVC and run the exhaust fan before, during, and after each cut to minimize fumes.
- Alignment:
- Run a quick grid test before major jobs to track alignment changes.
- Always monitor for warning lights or unusual noises and use community forums or brand support for troubleshooting.
Real-World Use Cases and Project Inspiration
Laser cutters are versatile tools for various creative projects:
- Personalized Items: Craft wedding favors, engrave intricate jewelry, or create custom gifts.
- Architectural Models: Score acrylic layers for model making or design signage.
- Prototyping: Use your cutter for rapid prototyping or side gigs—great for small parts or decorations.
Smaller diode units are perfect for personalized jewelry, while CO₂ systems are better suited for signage and small furniture accents. A consistent workflow (e.g., designing in Illustrator, exporting SVGs, testing cuts) ensures smooth production.
Don’t forget to explore community forums, YouTube tutorials, and local maker spaces for tips and hacks that can improve your workflow.
Making the Final Decision
Wrap everything up by reviewing your goals, the features that are most important, and your budget. Create a shortlist of two or three models, verify their specs against real user reviews, and check support availability. Plan for the setup—measure the space, decide on exhaust routing, and gather basic maintenance tools before your machine arrives.
With these steps in place, you’ll be ready to confidently compare models and start turning ideas into finished pieces.


